Doom The Dark Ages Revelations walkthrough: How to complete Chasm of Xal'Goroth mission (Chapter 4)
In Doom The Dark Ages Revelations DLC, you will reach the Chasm of Xal'Goroth on your hunt for the second Ascension Stone. A variety of demonic horrors await, leading to new cinematic revelations.
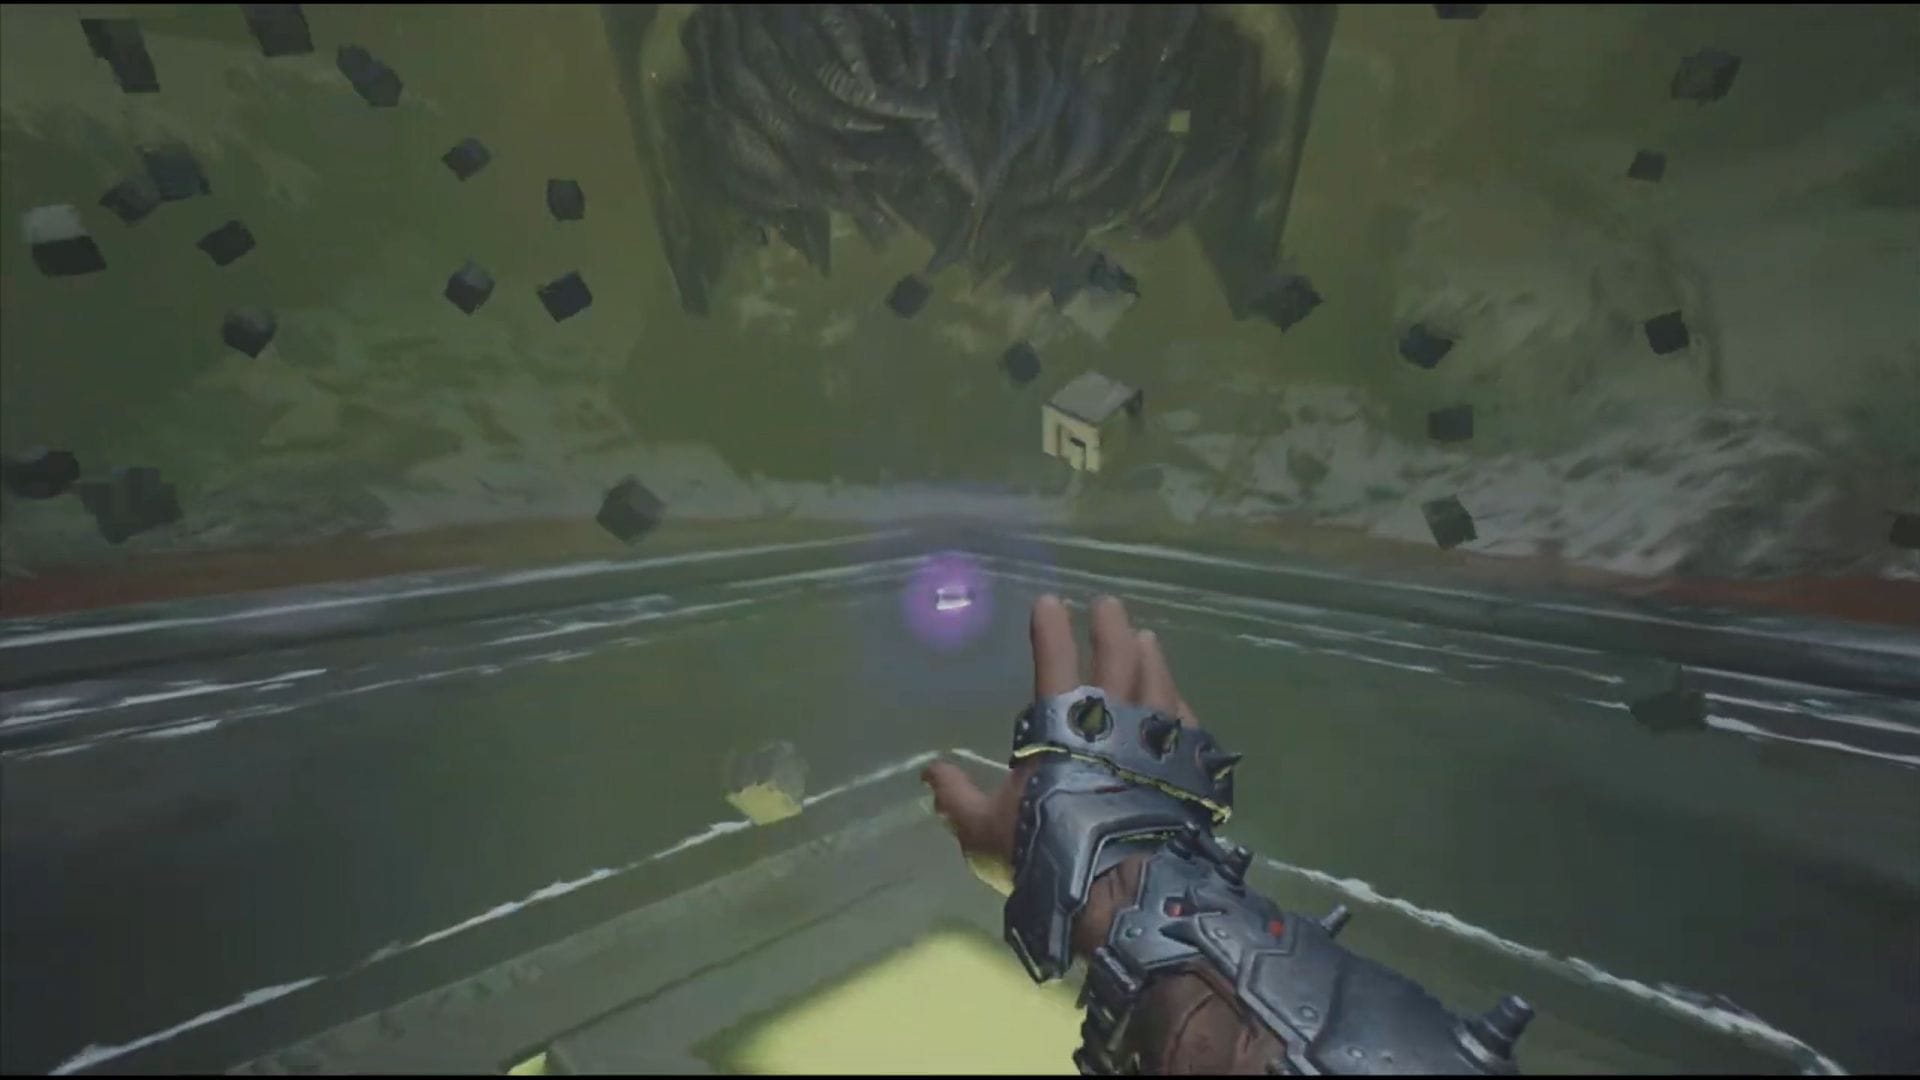
× In Doom The Dark Ages Revelations DLC, you will reach the Chasm of Xal'Goroth on your hunt for the second Ascension Stone. A variety of demonic horrors await, leading to new cinematic revelations. This guide will walk you through the intricacies of the Chasm in detail.
Ad Read on to learn how to complete Chapter 4 of Doom The Dark Ages Revelations. Here are the details. Also Read: Doom The Dark Ages Revelations walkthrough: How to complete Proving Grounds mission (Chapter 1) Looking for Crossword hints & solutions?
Check out latest NYT Mini Crossword Answers, LA Times Crossword Answers, and Atlantic Crossword Answers How to beat Chapter 4 Chasm of Xal'Goroth in Doom The Dark Ages Revelations Navigate the Chasm of Xal'Goroth Once you reach the area, walk forward into the hallway and grab the Codex "Trial of Will" in front of you. Since you cannot go through the locked door nearby, keep progressing through the hall until you reach the end and interact with the stone, which will be locked away inside a stone casing. You will teleport into another zone, so turn around and take either of the two sets of stairs up.
Ad Trending Upon reaching the platform, the passage ahead will manifest for you, so keep trudging forward. Upon reaching the next platform, look to the right and use your shield to fling yourself through the circular gate. When you land on your feet, enter the room, after which some enemies will spawn.
Dispatch them and move forward. Activate the mechanism to progress (Image via Bethesda Softworks || YouTube/@manugames92) Take the left path from the purple door and defeat the handful of enemies at the end of the corridor. On the left, you will see a blue club.
Throw your shield at it to open up a new path on the right above, then grapple up using your Chain Spear. Ad Upon exiting the corridor, you will find another green ring, so shield bash through it to reach the other side. Defeat more enemies and take note of the trail of white pickables on the ground.
Follow them to the level below and turn around to find the Mask Relic piece sitting in the corner. This is one of several Relic pieces in Doom The Dark Ages Revelations (Image via Bethesda Softworks || YouTube/@manugames92) Use the jump pad at the end to return to the upper area, then turn around and trudge forward, following the objective marker. Hop through another green ring and follow the linear path until you are launched onto a floating platform.
Turn around and drop down to the level below. Ad After climbing the wall and reaching the upper level, look up on the left to see a grapple point that will take you up. This leads to another green flinging ring, which throws you inside a hole with water awaiting you at the end.
Swim towards the light to reach the edge of solid ground and continue through the ruins. Defeat the enemies ahead and move through the door for the next step of Chapter 4 in Doom The Dark Ages Revelations. Ad Destroy the Power Cores The objective will now update, requiring you to find and destroy two Power Cores.
Move through the marked door, and you will arrive face-to-face with a large block. Push it, causing it to go flying across the gap to the other side, then chuck your shield at it to activate the bridge. This will also summon enemies, so be wary.
Defeat them and take the path to the left of the block to continue forward. You will arrive in a room with the first core on the left side of it, but you will be unable to destroy it yet, as the blue switch on the ground remains inaccessible. Follow the objective marker once again to head through another door into a room where more foes spawn.
Use the two jump pads here to gain the upper hand. Ad As you fight through waves of demons, the area will expand, granting you more mobility but also spawning hordes of powerful monsters, making this the toughest challenge so far in the Chasm of Xal' Goroth in Doom The Dark Ages Revelations. Once everyone has been dealt with, move on to the next room where a puzzle awaits.
Free the block and solve the puzzle to create a platform to move on (Image via Bethesda Softworks || YouTube/@manugames92) To start, detach the block as shown in the above image with the shield so it is free to move. Once it has dropped down onto the arm, grab it and pull it to the left with the Chain Spear. Now head to the side of the block that glows green and bash it with your shield so it moves along the arm and rests at the end against the wall.
Ad Use the wall grapple to the left of it to climb up the side and then look back down at the block to see a grapple point on the edge of the block. Pull it so the block moves to the right. Throw your shield at the blue glowing part of the block, which activates a platform above the block, allowing you to cross the gap and reach the Blue Eldritch Key.
Ad This key item will let you pass through blue-gated doors found across the Chasm of Xal'Goroth. Return to the previous large room where you fought hordes of foes, and more
Đọc thêm từ Thể thao

“Switzerland to win in extra-time” - Former France World Cup winner predicts Lionel Messi and Argentina will be knocked out in quarter-final
Lionel Messi and Argentina come up against Switzerland at the 2026 FIFA World Cup in the last quarter-final tie of the competition.
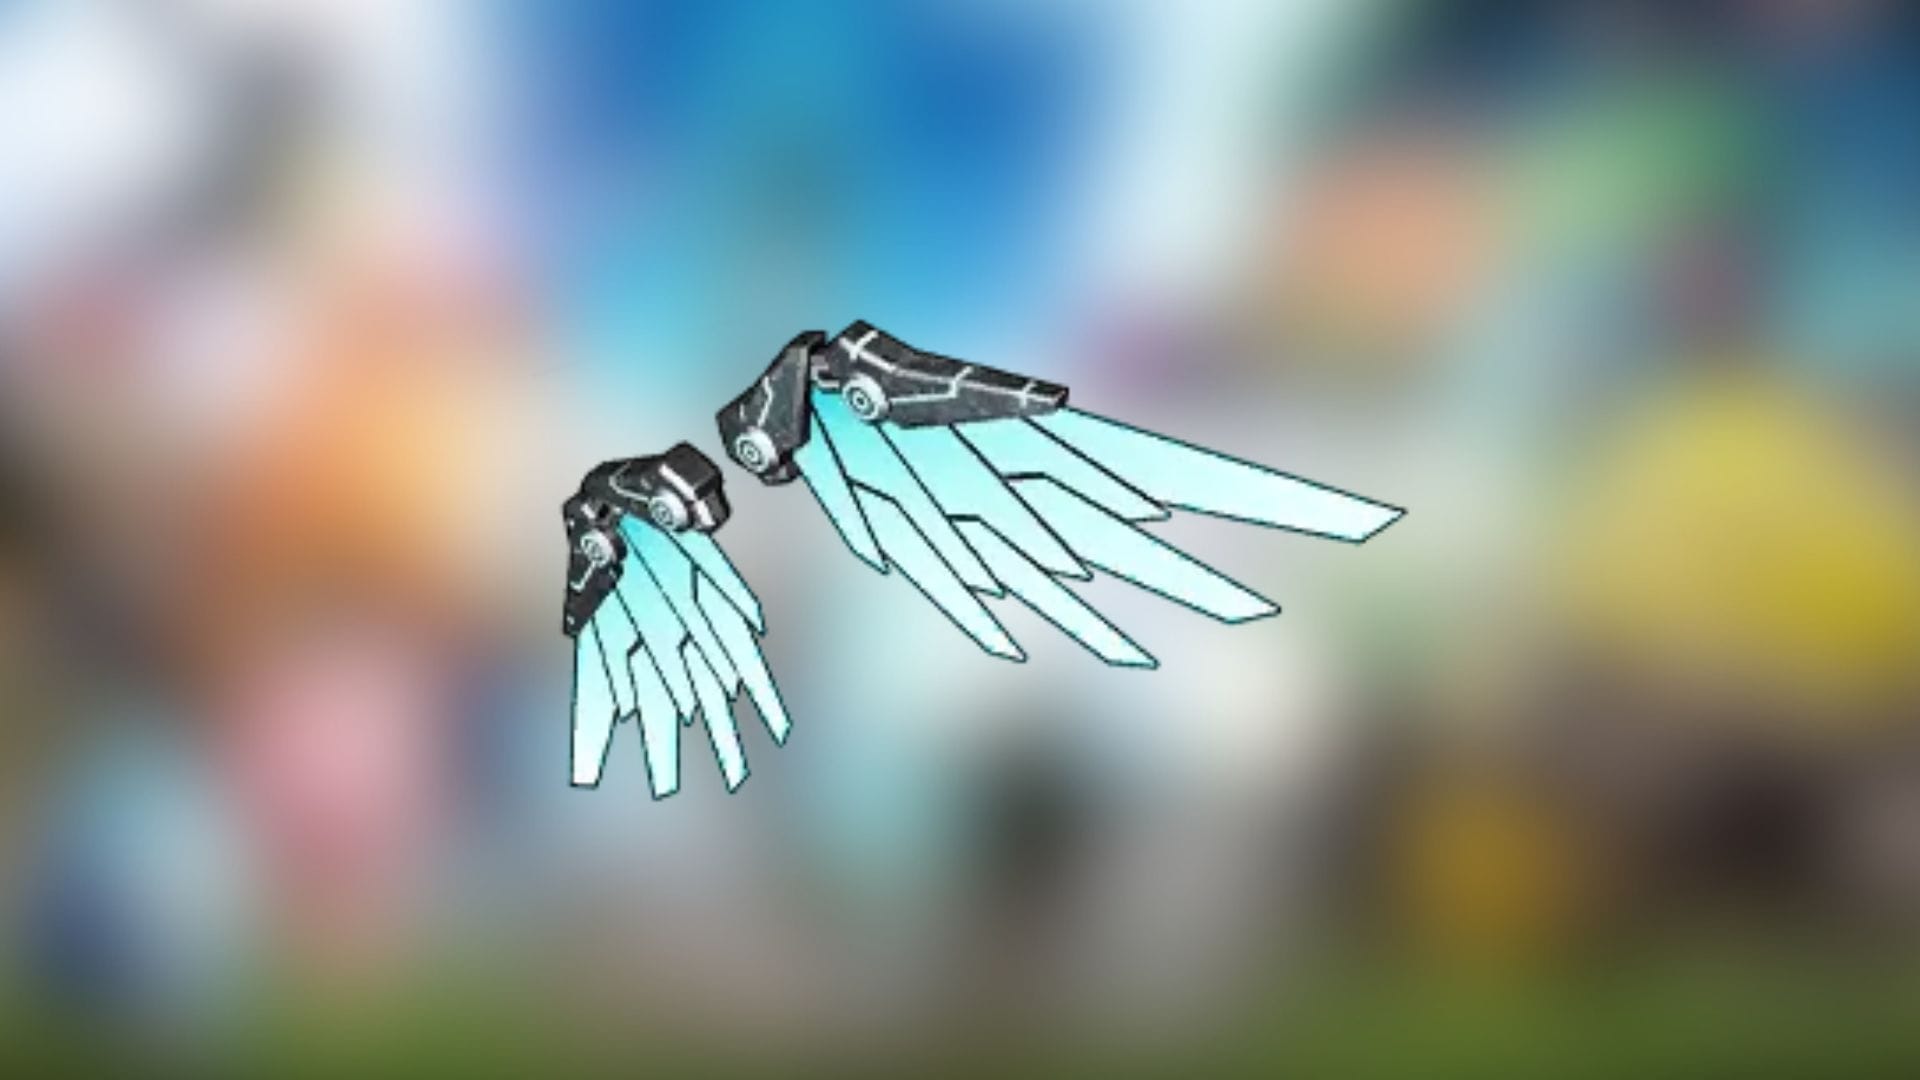
How to unlock and use Wing Pack in Palworld
Palworld has finally left early access after the 1.0 update. Besides the new pals, the full release includes several new quality of life features.

“You have to be an absolute clown” - Ex-Chelsea star reacts as new Portugal boss Jorge Jesus says Cristiano Ronaldo still has place in national team
Former Chelsea star Craig Burley has reacted to newly-appointed Portugal maanger Jorge Jesus saying that superstar forward Cristiano Ronaldo is still important for the national team.

“We know what happens when he bets” - Max Holloway trolls Drake over $1 million bet on Conor McGregor
Rapper Drake has thrown his support behind Conor McGregor ahead of his UFC 329 return, placing a massive $1 million wager on the Irish superstar.